Now that the tiles have been laid, it’s time to let the professionals do their work. First up is the cabinet installation. That’s got to happen first before we can have the granite guys come in. The next step after granite would finally be appliance install. When you’re doing a project like this, the key is really the cabinet makers. Make sure you pick a good one! There are some companies out there that do both cabinetry and counter tops, so keep that in mind as you talk to your local professionals. Another piece of advice before you begin? Check out everyone’s contractor license number, and how much they’re insured for. We had a flub in the beginning that could have been really bad. Luckily everything ended up A.O.K. In California, you can easily look up information here: California Contractors State License Board.
Cabinets – First Pass
It helps to be extremely clear on what you want, and to communicate that effectively with your cabinet guys. Make sure you “do the work” along with them. Have the same set of plans that they do, and make sure you check up with them at every step of the process. The talks with the cabinet makers were the first thing that occurred even before demolition.

The Hubbs and I knew we wanted in terms of appliances and cabinet features. We had done extensive research, shopping, discussing, and pinterest-ing, so we had the dimensions of our appliances, along with the features we wanted to see in our cabinets, and drawers.
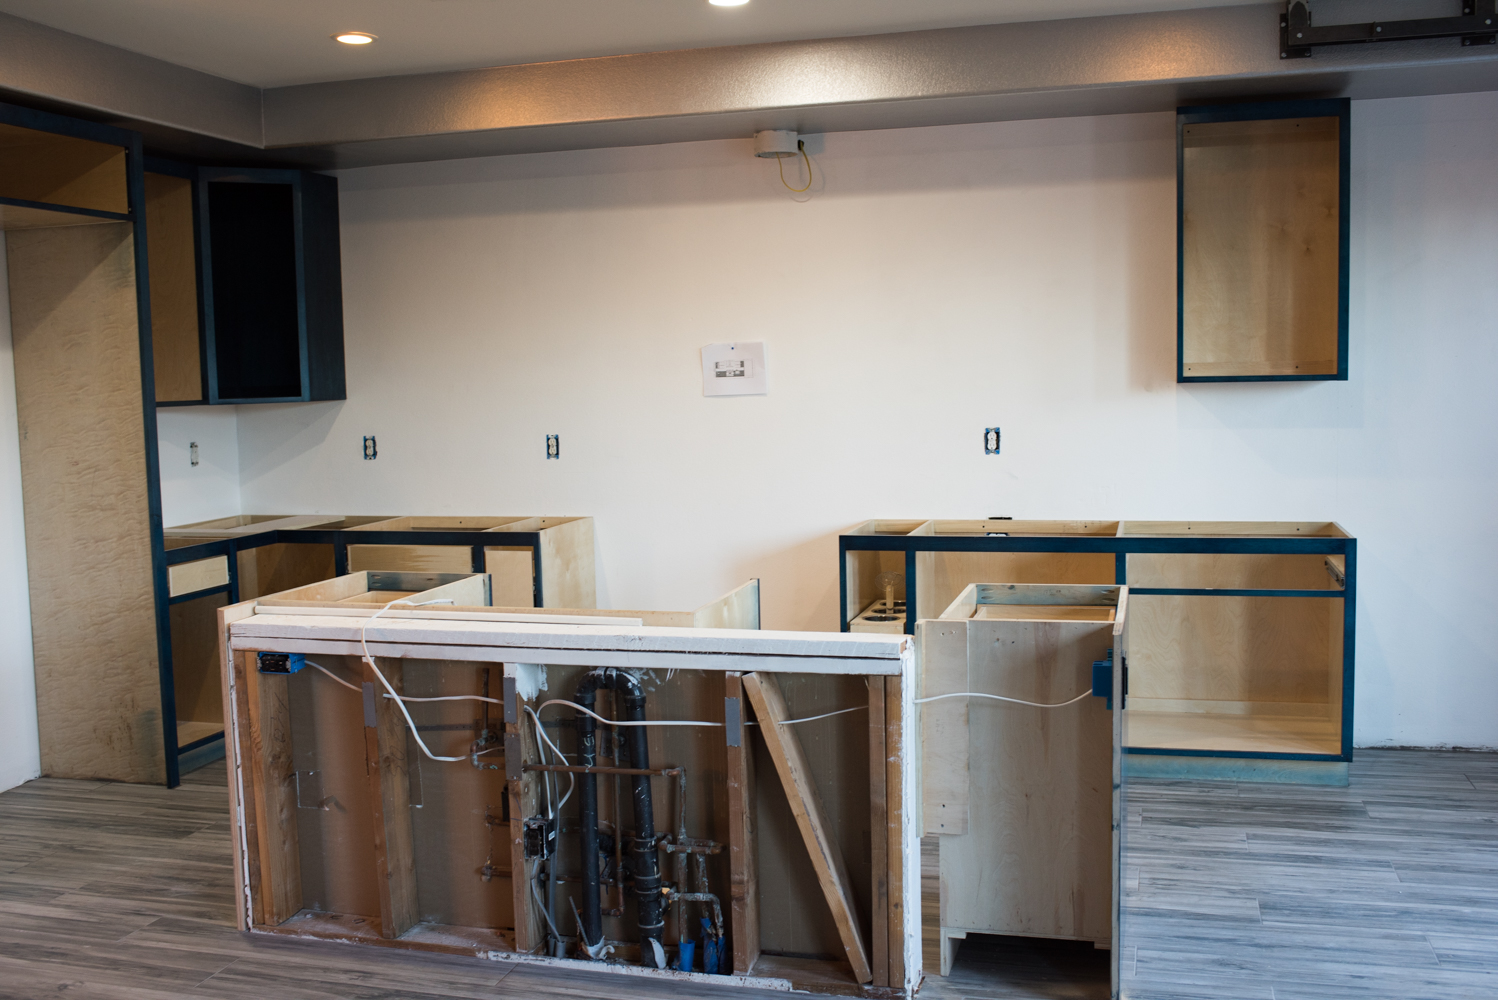
These cabinets are solid maple, interior is birch plywood, and all custom made. Our cabinet maker worked with us to get the color of the stain perfect, and we just fell in love with it. You can see here that they’ve built the cabinets around our existing pony wall. This wall didn’t really need replacing. Why mess with something that isn’t broke? It was a frame of a wall that housed plumbing and electrical to the island. We all decided it was a better idea to just leave it there.

Because we had three different contractors we were working with, cabinet makers, counter top installers, and appliance installers, we wanted everyone to be on the same page. So in addition to communicating the cabinetry plans through email, we also tacked them to the wall, so while people were hands on, it was up for extremely easy reference.

Getting Clear
These were some of the detailed features we knew we wanted, and the cabinet maker helped make that happen!
Spice & Utensil Pullouts
These have proven to be GREAT space-savers and organizational features, and we absolutely love them. Each of these flanks the stove, making it extremely easy to access the stuff you need, when you need it, being in such close proximity. We found great utensil holders from Chef’s Toys, and our cabinet maker was able to create the pullout to house them. The spice rack has 3 levels, making plenty of room to house even the greatest of spice collections.


Soft Close Hinges
No matter how much you slam these puppies, they will still close softly. At first we didn’t communicate well on this, and we only got soft close hinges for the “cabinets”. When I thought of cabinets, I expected that to mean every structure in the kitchen. I was wrong! It turned out that our cabinet maker thought that to mean just the cupboards and not the drawers. It was easily fixed in the end, but in the spirit of not wasting either party’s time or money, keep that in mind with your remodel!


Large, Heavy Duty Drawer for Pots & Pans
In our old kitchen, I hated nothing more than the difficulty of finding large pots in our cabinets. Having a large drawer that I could pull out with confidence, and easily find what I needed was a must.

Cabinets – Second Pass
Here, you can see that there is definitely progress being made, including the final framing piece for the island! It’s starting to look like a kitchen again.


This was the final part before having the countertop guys come and measure for our countertops. In addition to measuring, we also gave them copies of our plans, as well as appliance specifications, so we knew that everything would fit exactly. The stove was the most crucial part of the puzzle, as it was to sit snugly between two large pieces of quartzite.

Stone Age Granite Install of Quartzite Counter Tops
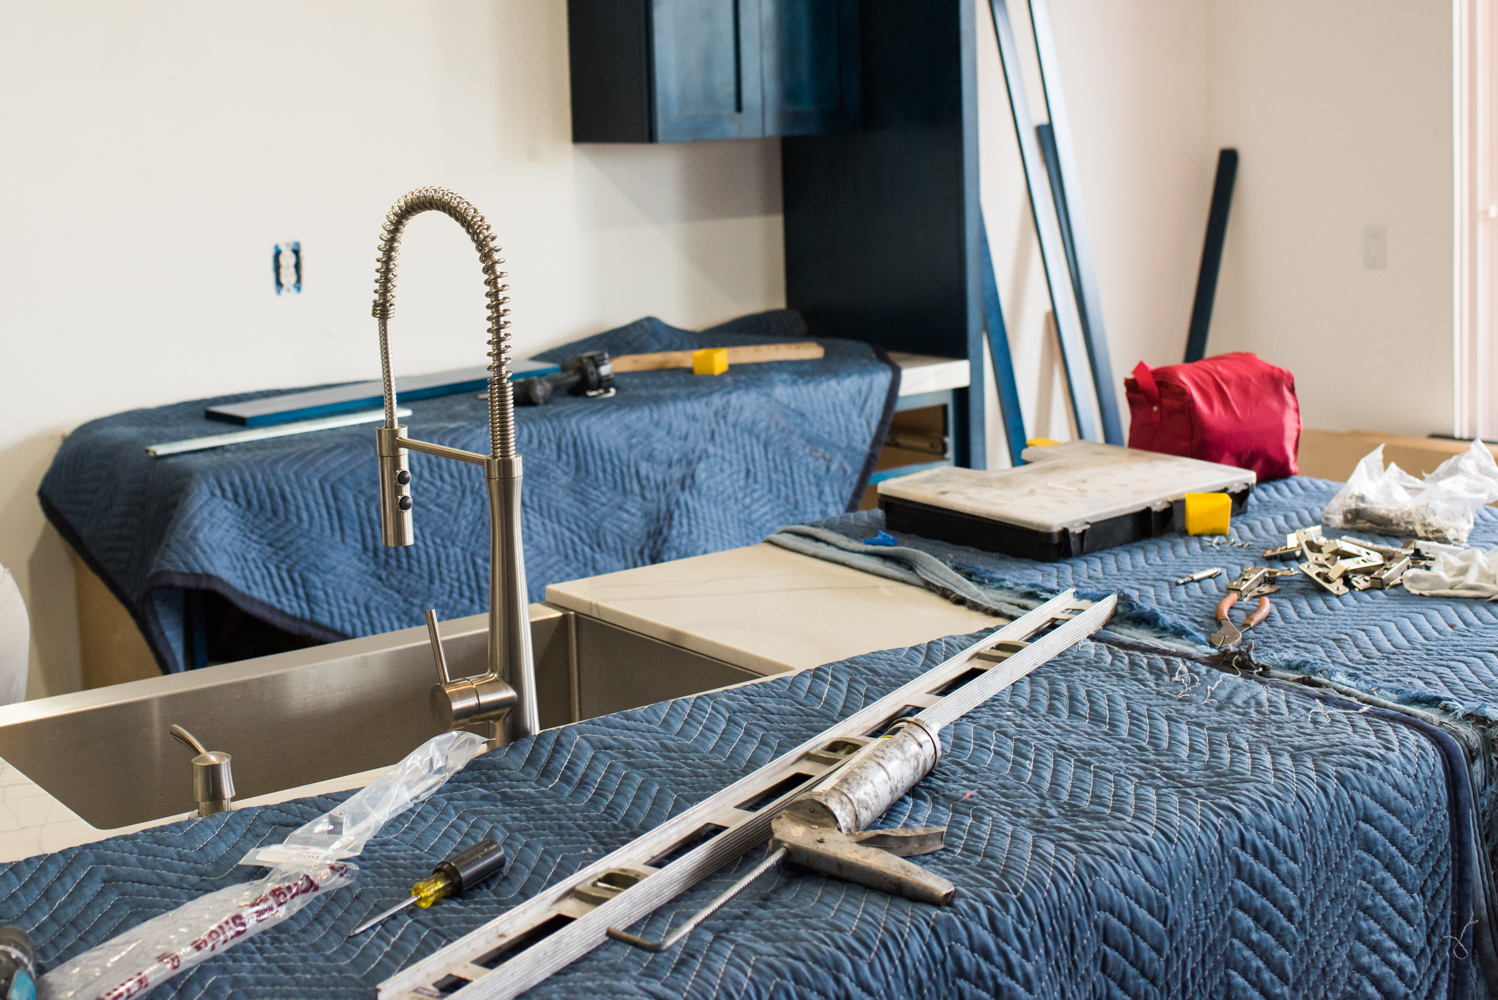
This was the most nerve-wracking experience just because we splurged here, and there’s always a risk of a cut gone wrong. While this quartzite looks a bit like marble, it’s quite the opposite when it comes to composition. It’s the hardest material we could get our hands on, and doesn’t etch like marble does. I’m indeed a messy cook, so any lemon juice or wine spilled on a marble counter top I absolutely do not want on my conscience.

Stone Age Granite was prompt and professional. I didn’t know it before we started working with them, but under-counter sinks like ours have to also be installed by the counter-top guys. They had absolutely no problems whatsoever, and did quite an impeccable job with the caulking which I didn’t expect. Pleasantly surprised at that! I hate a bad caulking job!


I love the erratic irregularity of these counter tops. It provides the contrast of color that this kitchen needed to make the space pop.
Third Pass
After the counter tops being installed, the cabinet guys can put the finishing touches on their work.


Wolf / Sub-Zero Install by 1-Way Installation
The installation of the appliances was indeed the icing on the cake! It really sucks to have to cook on a panini press for 3 months. This day marked the end of that. Rene from One Way Installation really rocked this install. It was probably the most smooth phase of this project, thank the heavens!

The first to go in was our refrigerator. We were the most nervous about this because Wolf / Sub-Zero have extremely specific dimensions, suggested spaces, and outlet areas. We knew the fit would be tight, but it ended up sliding right in.


The hood was next. Nothing too crazy here either. The “duct cover” did pose a bit of a challenge. The lip of it had to be cut in order to fit around our existing exhaust hardware. Close call!

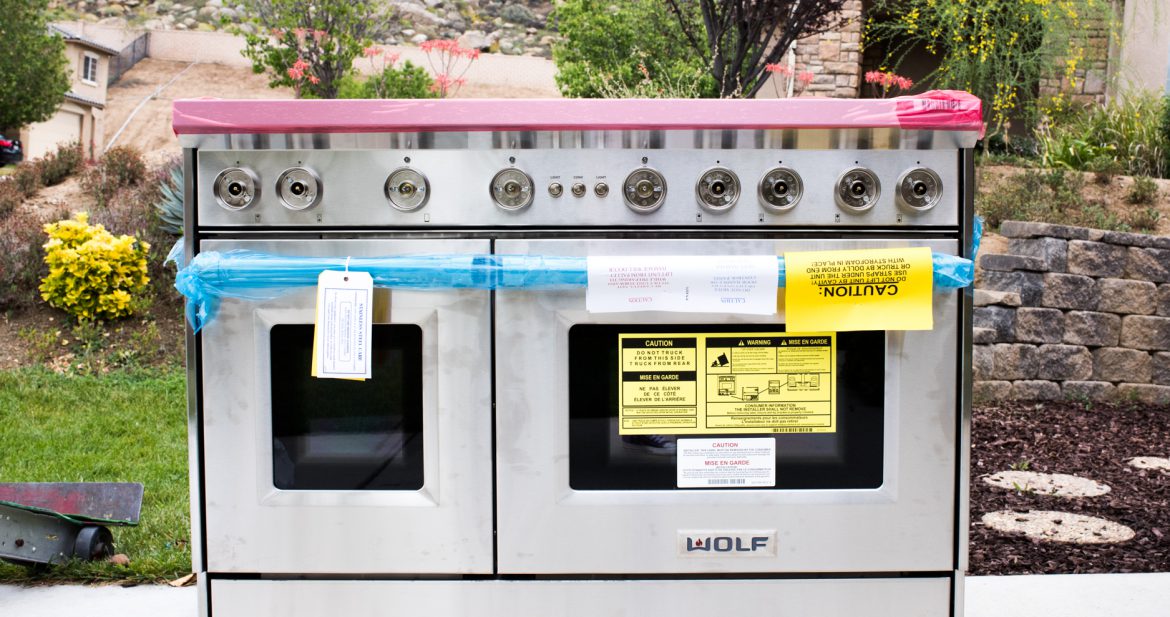
Finally the microwave, and the stove.

This is my favorite picture of our entire process! These appliances are no joke!


Ahhhh finally, the kitchen is ACTUALLY a kitchen again! There was much rejoicing this day. After the trial oven period, it was time to cook. We settled on a simple frittata. Often it’s the simple things in life that give you such comfort!

Stay tuned for the next Kitchen Remodel installment!

P.S. You can continue by reading the other posts in this series!


What a wonderful day it was when those appliances got installed!
Words can not describe!!
I went through this process 20 years ago and know how exciting/exhausting it is. That was so smart to put the plans on the wall!
I absolutely adore the color of your cabinets, they are beyond stunning. You have impeccable taste.
Here’s to all the deliciousness your new kitichen is going to bring.
Cheers, Cathy! At this point, there was still plenty of work ahead!